Riverstone Asanas -- Updated Blanket Pattern
One of the most gratifying things about designing crochet patterns is seeing what people are able to do with my patterns as a spark of inspiration to make a piece uniquely their own. Just recently, a fellow crocheter, April, shared with me a little tweaking she did with my Asanas Blanket pattern.
Isn't it beyond lovely!? And she has been kind enough to write up all the details for you so you can make one of your own. Here's April...
 |
| Photo used courtesy of April Luescher |
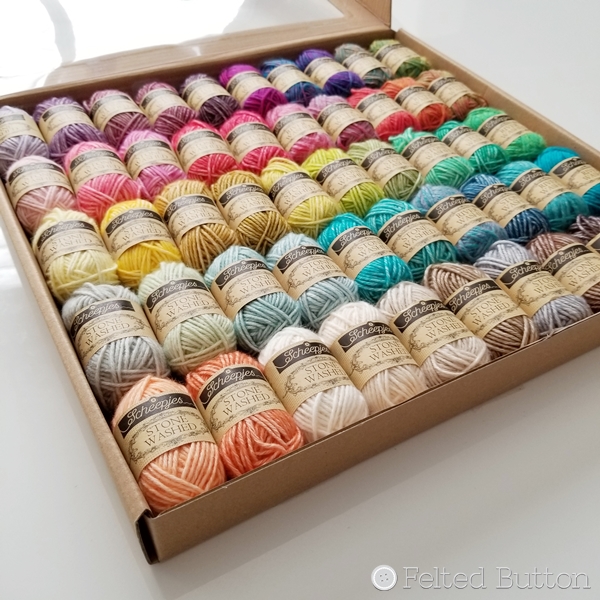
I asked my mother-in-law to get me the Scheepjes Riverwashed/Stonewashed Colour Pack* as a gift for Christmas 2018.
It took me a few weeks to decide what to do with it, as none of the existing patterns designed for the color pack really appealed to me. I have always been an admirer of Susan’s patterns (although if I’m completely honest they've always been a bit bright for me – don’t get me wrong, I love bright colours, but my friends know that I can be a bit predictable (boring?!) in the colors that I have in my own house, always sticking to the same beach-house palette of blues, greys, sage/duck egg, beige and off-white). But I made her Harlequin Blanket over the summer as a stash-buster for a friend who had lost her crojo, and it seemed that with the massive variety of colors in the pack she would be the ideal go-to for a pattern.
Also I had decided that 2019 was going to be a year when I pushed my own personal yarny envelope – that I would make things I had never made before, try things I had never tried before, and be a bit more experimental (less boring?). And I really liked the texture of the Asanas pattern – I’m a big fan of texture and overlay crochet – so my decision was made.
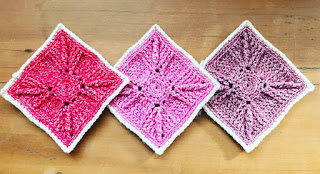
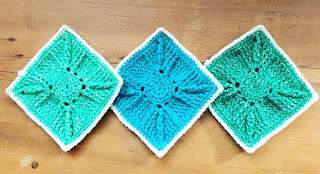
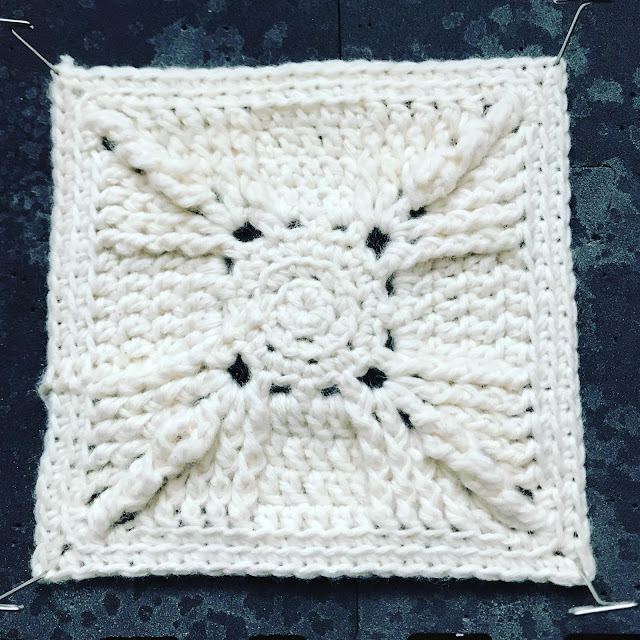
Next I had to try it out, to see how far through a square one of the mini-balls would take me. I had already decided that my joining and edging color would be the Moonstone (as I have plenty of that sitting around waiting for me to continue with my Hygge - ahem!), so I chose the Moonstone mini-ball to try out the pattern.
 |
| Photo used courtesy of April Luescher |
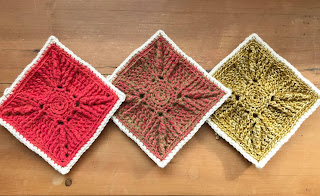
It took me from round 1 to round 8, and then I skipped to round 13. That worked! So off I went, working my way randomly through the colors as the mood took me. I then did a simple edge around each square with the Moonstone.
At this point I should probably say that we emigrated from the UK to Germany in October 2018, so the beginning of 2019 was pretty full-on what with a big project of a house, two kids, two dogs, a husband who works away quite a lot, and my own career which also absorbed my time – so it took me longer than it maybe should have done to complete all the squares, but I was finished by mid-February, with all the squares edged and individually blocked, and had my color placement sorted out and all the squares bagged up in their respective rows. Then the project stalled for a while as I got involved with something at my children's international school (helping to teach 7-9 year olds how to knit so we could make squares to create a baby blanket for a member of staff who was going off on maternity leave, and I also volunteered to do the joining and edging of this blanket) - oh, and my other half really likes the socks that I make for him, so I had some of those on the go at the same time (you know how it is--sometimes you just need to make ALL THE THINGS!) But after a gentle prod from Susan, I got the bags of squares out of the yarn cupboard and cracked on with the joining and edging.
 |
| Photo used courtesy of April Luescher |
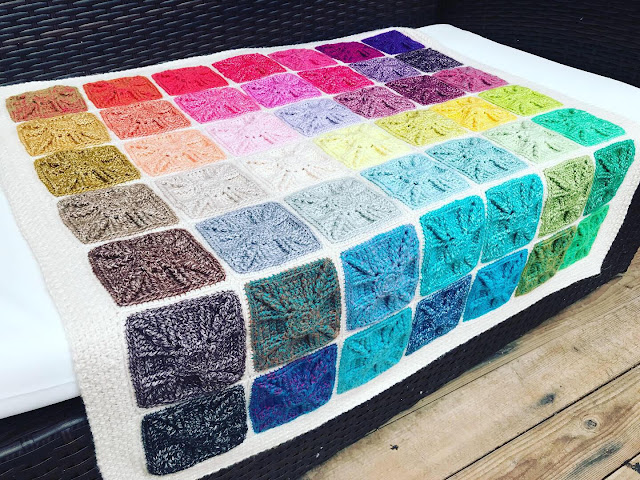
Ta Dah!
So, here are the details.
I used the full Stonewashed/Riverwashed color pack from Scheepjes (excluding the Moonstone mini-ball which was my tester) – that’s the DK weight one, not the XL one. I also used a 3mm hook; I prefer my crochet on the tight side, and this way I managed to get a full square out of each mini-ball. Each square took roughly 9g of yarn, not including the edging. I’m not entirely sure how much yarn the edging of the squares, joining and blanket edging took, as I was using up some part-balls of yarn, but a safe guess would be 4 full balls (finished blanket weight: 635g; 49 squares x 9g = 441g; 635g - 441g = 194g - so 4x 50g balls worked for me, although obviously it would depend on how you choose to join your squares and what you do as an edging around the whole blanket).
Each square is rounds 1-8 of the Asanas pattern found here, skipping to round 13 to finish.
Edging the individual squares:
Join edging color (here: Moonstone) in a corner and ch1 to get up to right height, sc in corner, then sc in back loop of each stitch along each side, sc, ch1, sc to create each corner, then at final corner sc, ch1 and join to first sc with a slip stitch.
Joining:
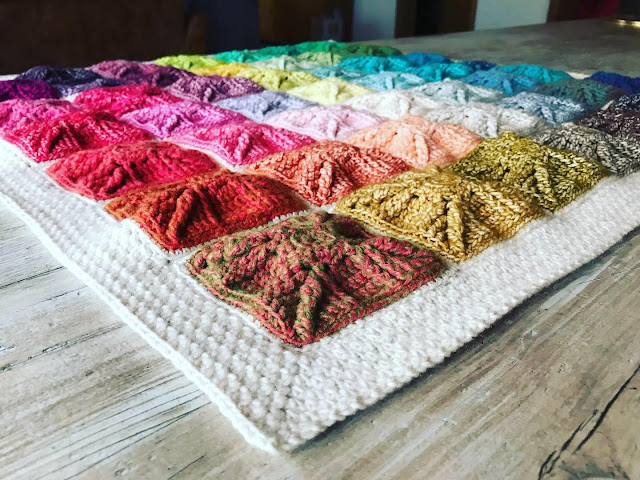
After much to-ing and fro-ing I decided to go with the invisible join, slip stitching through back loops (as suggested by Susan). Many tutorials are available online (the one I used was the picture tutorial by Lucy at Attic24). I used the same 3mm hook.
 |
| Photo used courtesy of April Luescher |
Edging the entire blanket:
For this, I went up two hook sizes (to 3.5mm). I wanted a simple edge so as not to detract from the texture of the squares, but it couldn't be entirely plain so I decided on linen stitch (sc, ch1, with corners done as sc, ch2, sc, then crocheting into the ch1 space on the next row) as I had previously used this on my Last Dance on the Beach blanket. Again, many tutorials are available online (and the one I used to remind myself how to do it was the video tutorial by Esther at It's all in a Nutshell). I did 9 rows of linen stitch (including the set-up row). This took the edging to 4cm wide all round, which felt about right to me as a frame as this is just under half the width of an individual square.
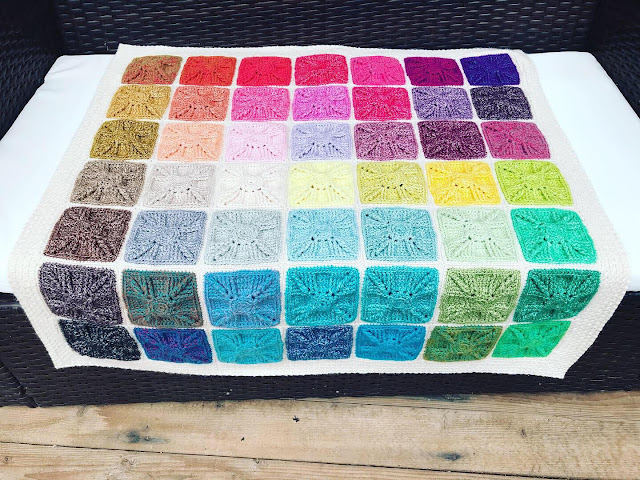
The blanket was gently blocked at the end, just to square up the corners, and ended up being 77 cm square, or just over 30 inches x 30 inches. So it's not huge. But it's pretty!
 |
| Photo used courtesy of April Luescher |
A note on color placement:
I ultimately chose to go with a vague “color wash” arrangement. Again, there was dithering, and much rearranging of squares, but I like the effect that I got with this. I tried arranging the squares outwards from the paler to the darker, and vice versa. I even thought about color progression in rows, from left to right, down a row and right to left etc., but ultimately this is what I went with. Also I originally wanted to use all the squares including the Moonstone, but with 50 squares that would have ended up being a long thin blanket (5x10) so I left out the Moonstone and ended up with a square blanket instead (49 squares, 7x7). The longer thinner arrangement would work quite well as a bed runner or a wall hanging, though!
My color placement is set out in the table below.
|
Yarra
|
Lepidolite
|
Ganges
|
Peridot
|
Fosterite
|
Malachite
|
Congo
|
|
Steenbras
|
Deep Amethyst
|
Garnet
|
Citrine
|
New Jade
|
Canada Jade
|
Amazon
|
|
Mekong
|
Red Jasper
|
Corundum Ruby
|
Lemon Quartz
|
Larimar
|
Turquoise
|
Danube
|
|
Carnelian
|
Tourmeline
|
Lilac Quartz
|
Beryl
|
Amazonite
|
Green Agate
|
Blue Apatite
|
|
Mississippi
|
Rhodocrosite
|
Rose Quartz
|
Pink Quartzite
|
Crystal Quartz
|
Wheaton
|
Rhine
|
|
Nile
|
Coral
|
Morganite
|
Axinite
|
Smoky Quartz
|
Severn
|
Colorado
|
|
Seine
|
Yellow Jasper
|
Enstatite
|
Boulder Opal
|
Brown Agate
|
Obsidian
|
Black Onyx
|
Thanks so much, April, for sharing your colorful journey! If you're itching to make one of these gorgeous blankets for yourself you can find the yarn in some of these places below...those with * are affiliate links which if used by you cost you no more but provide me a small comission. Thanks!
Wool Warehouse* (UK)
Deramores* (UK)
Knotty House* (CA)
Stitched Naturally (US)
Black Sheep Wools* (UK)
I'll be back with some exciting new designs soon! In the meantime, here's hoping you find some time to crochet and create!

