Button Bunting--FREE Crochet Pattern
- hang it on your trailer or camper
- hang it over your booth at the craft fair
- display it on the wall over a little one's crib
- use it to brighten up your room, nook, workspace or little corner
- drape it over a picture, mirror or from your mantle
- gift it for a shower or birthday party
- make it in patriotic or special colors to match your decor
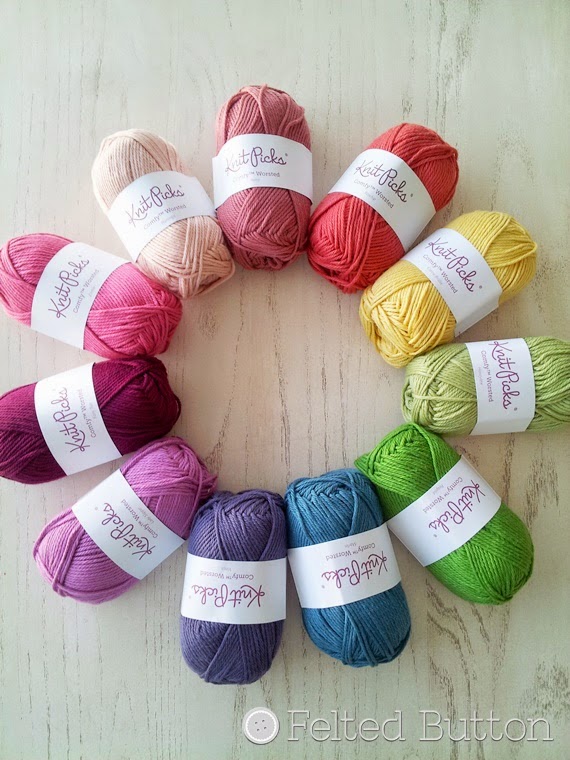
The triangles are rated as Easy and work up quickly using little bits from your stash. These are all made in Red Heart Soft, a worsted medium (4) yarn, but you can make them with a different weight yarn or hook size, too. In fact, the bits came from leftovers from this Design Wars creation--the Mariposa Throw.
Be creative and have fun!
So let's get on with the colorful triangle happiness...
Materials:
- Yarn: Red Heart Soft or Scheepjes Colour Crafter* (or weight and yarn of your choice)
- Colors of Red Heart Soft used in sample: Berry, Lavender, Denim, Deep Sea, Guacamole, Honey, Tangerine, and Cherry Red in small amounts
- Hook: H (5.0mm)
- Tapestry needle
- Buttons—8 (size and color of your choice, one for each triangle)
Here are a few things to note about the pattern:
- Triangles are worked in the round with right side (RS) facing and joining at the end of each round.
- Ch 1 at the beginning of a round does NOT count as a stitch and is used to raise your hook to complete the next stitch. If you have difficulty completing a dc after a ch-1, you may ch-2, but it will still NOT count as a stitch.
- All joining is done with a sl st to the designated st.
- If you desire to alter the length of your bunting, simply make more triangles and/or a longer hanging chain.
Gauge obviously isn't critical either, but my triangles worked up to be about 4" (10cm) from corner to corner.
ch = chain
Rnd(s) = Round(s)
2dc-cl = 2 double crochet cluster
RS = right side
dc = double crochet
sl st = slip stitch
hdc = half double crochet
sp(s) = space(s)
rep = repeat
st(s) = stitch(es)
yo = yarn over
As you can see, the only special stitch I used was this one...
- 2-dc cl (2 double crochet cluster) – (yo, insert hook in designated st or sp, yo, draw through st or sp, yo, draw through 2 loops) twice, yo, draw through all three loops on hook
Triangle:
Rnd 1 (RS): magic ring (or ch 3, sl st into first ch), ch 1, (2dc-cl, ch 1) rep 6 times, join to first ch-1 sp, pull tail to tighten ring –6 2dc-cl and 6 ch 1 sps
Rnd 2: ch 1, (3 dc, ch 3, 3 dc) in same space as join, 3 dc in next ch-1 sp, *(3 dc, ch 3, 3 dc) in next ch-1 sp, 3 dc in next ch-1 sp; rep from * once more, join to first dc –9 sts each side
Rnd 3: ch 1, hdc in same st as joining and each st around working (2 hdc, ch 1, 2 hdc) in each ch-3 corner sp, join to first hdc –13 hdc each side
Rnd 4: (sl st, hdc) in next, * sl st in next, (sl st, hdc) in next; rep from * around working (sl st, hdc) in each corner ch-1 sp, join to first sl st, fasten off and weave in ends
Hanging Cord:
Ch 175 (or to desired length—sample is approximately 45 in), sl st in back bump (see below) in second ch from hook and each ch to end, fasten off
- Back Bump – the back bump of the chain is on the opposite side of the two loops that form a “V” which are normally worked into when working into a foundation chain. The needle shown is inserted through the “back bump”. This is where you will work when making your hanging chain.
With tapestry needle and short length of same color yarn as triangle, sew button to center of triangle. Weave hanging cord through ch-3 corner spaces as shown in the photo. Hang and enjoy!
The buttons are optional, but in my button-obsessed brain, that's simply CRAZY to consider leaving buttons off of a BUTTON Bunting!! Besides, I have a stash of buttons almost as embarrassing as my yarn!


